8.11 【绝佳工具 07】在 PyCharm 运行 Jupyter Notebook

使用 Jupyter 之前 ,先要安装它
$ pip install jupyter
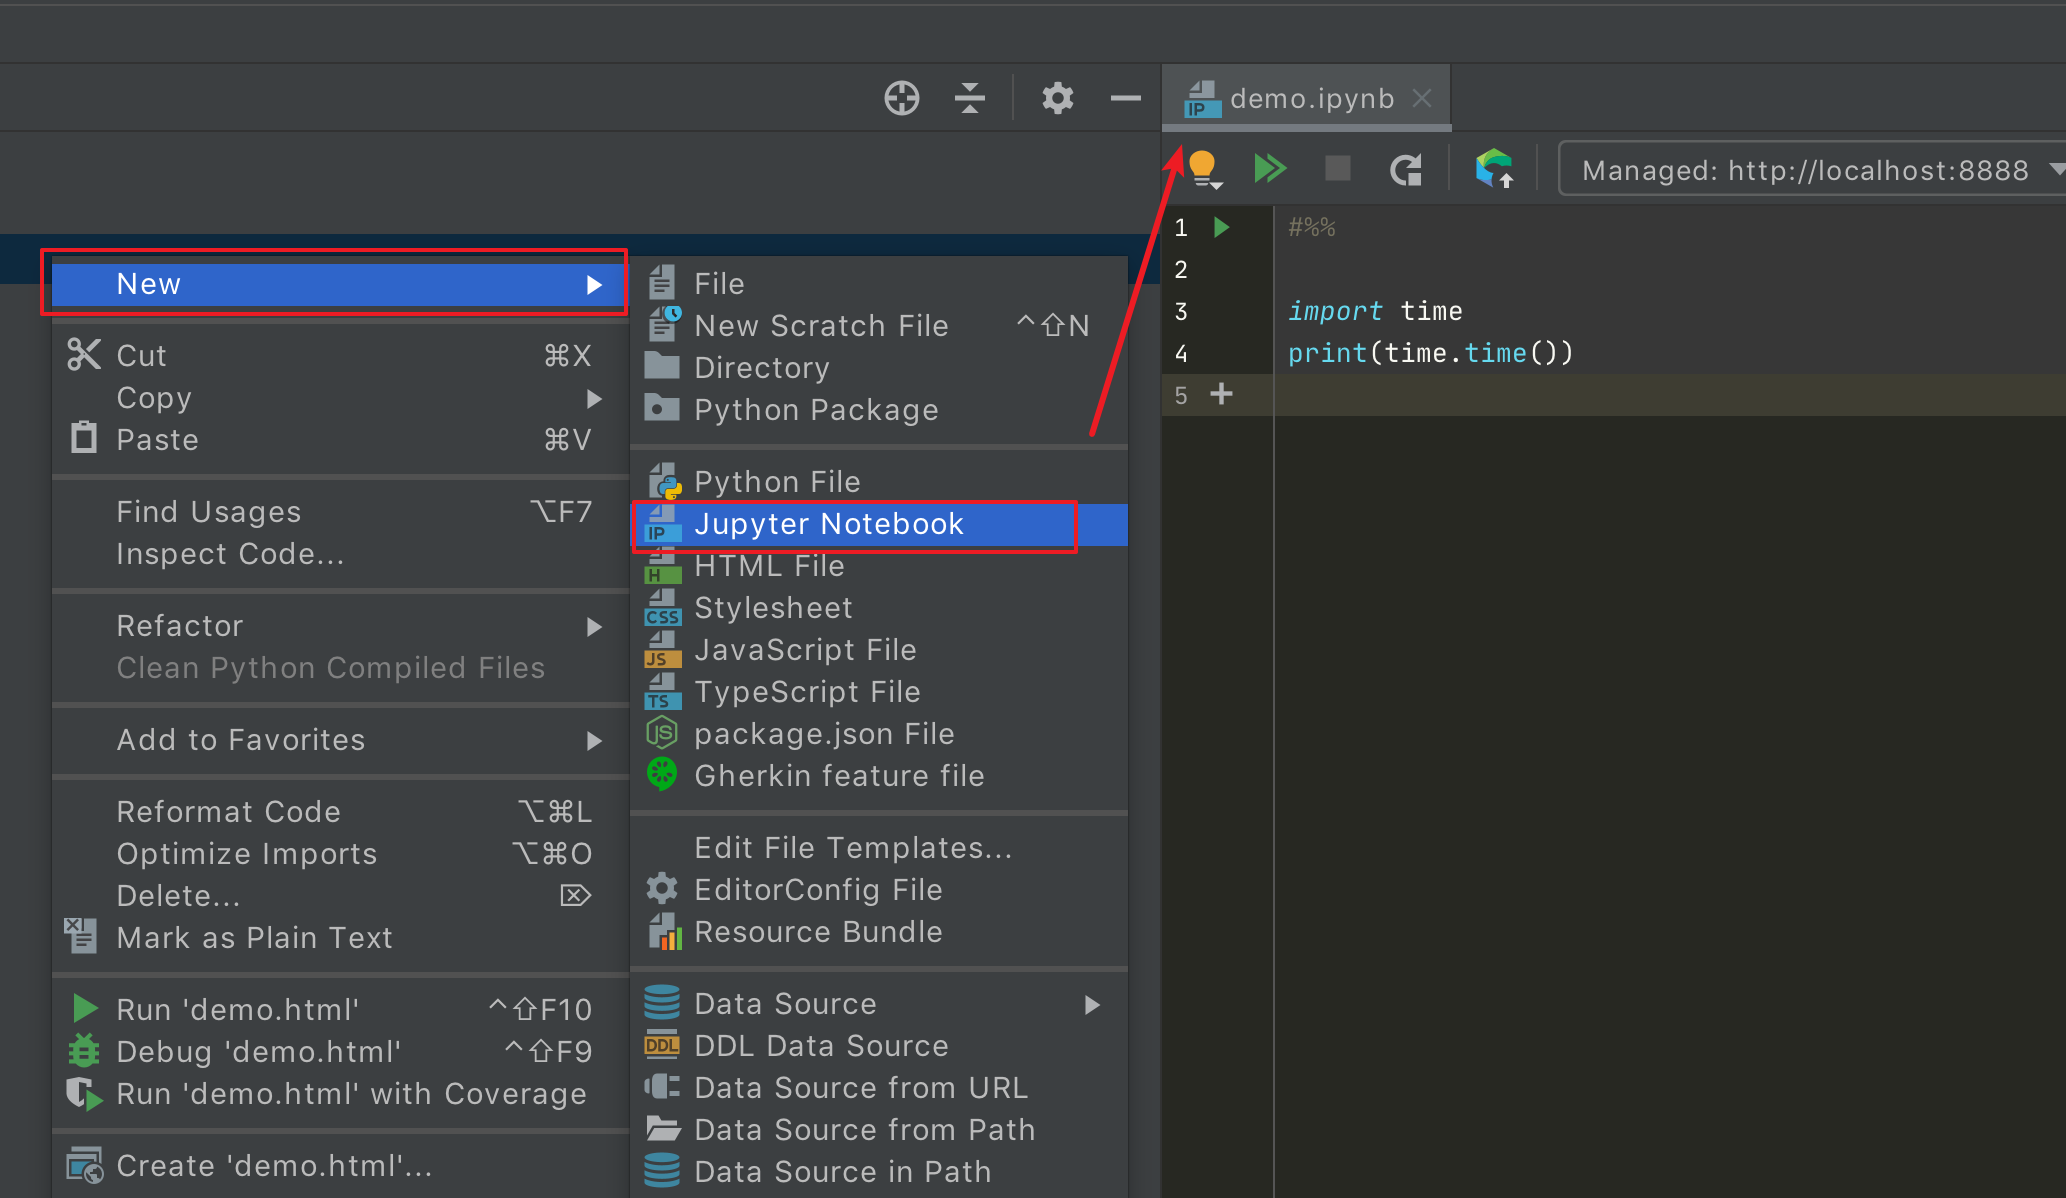
然后按照下图指示新建一个 Notebook ,就可以开始运作了。
这个界面感觉和 Jupyter 的风格不太符
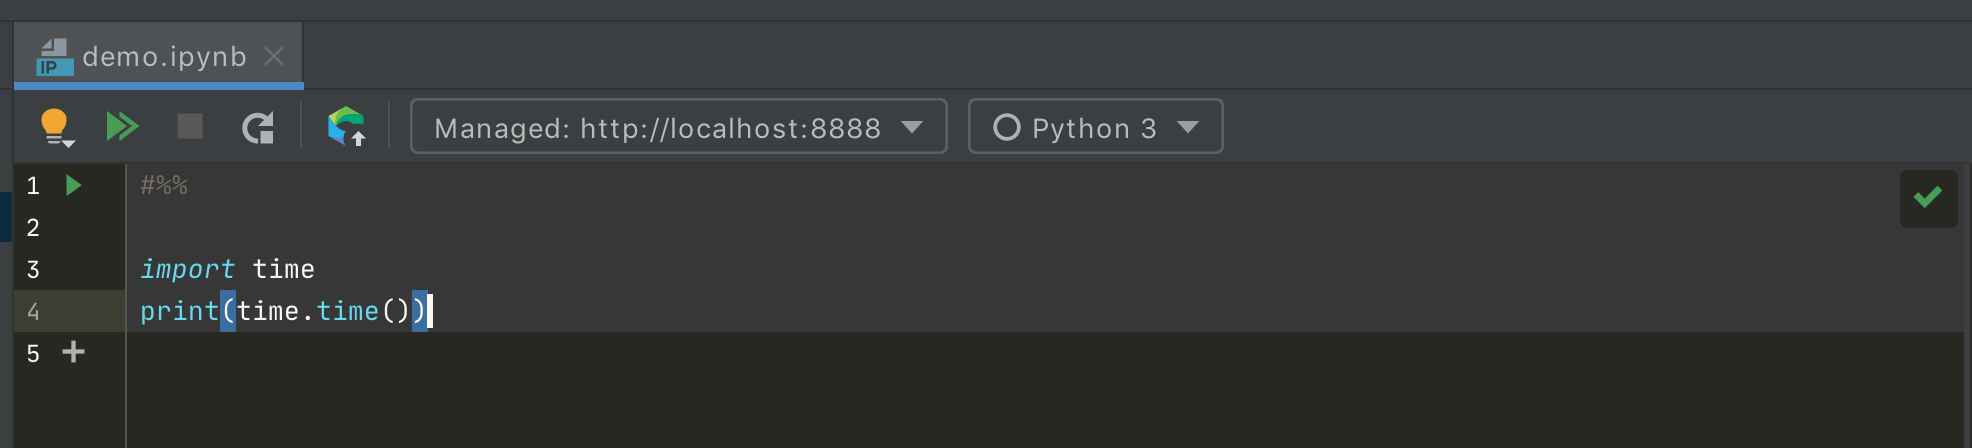
但是使用上是没有什么区别的,记住三个快捷键就好(下面指的是 Mac 上的,Windows 上的有所不同)
Ctrl+Enter:运行该 cell
Option + shift + ↩:调试该 cell
Shift + ↩:插入一个新的 cell
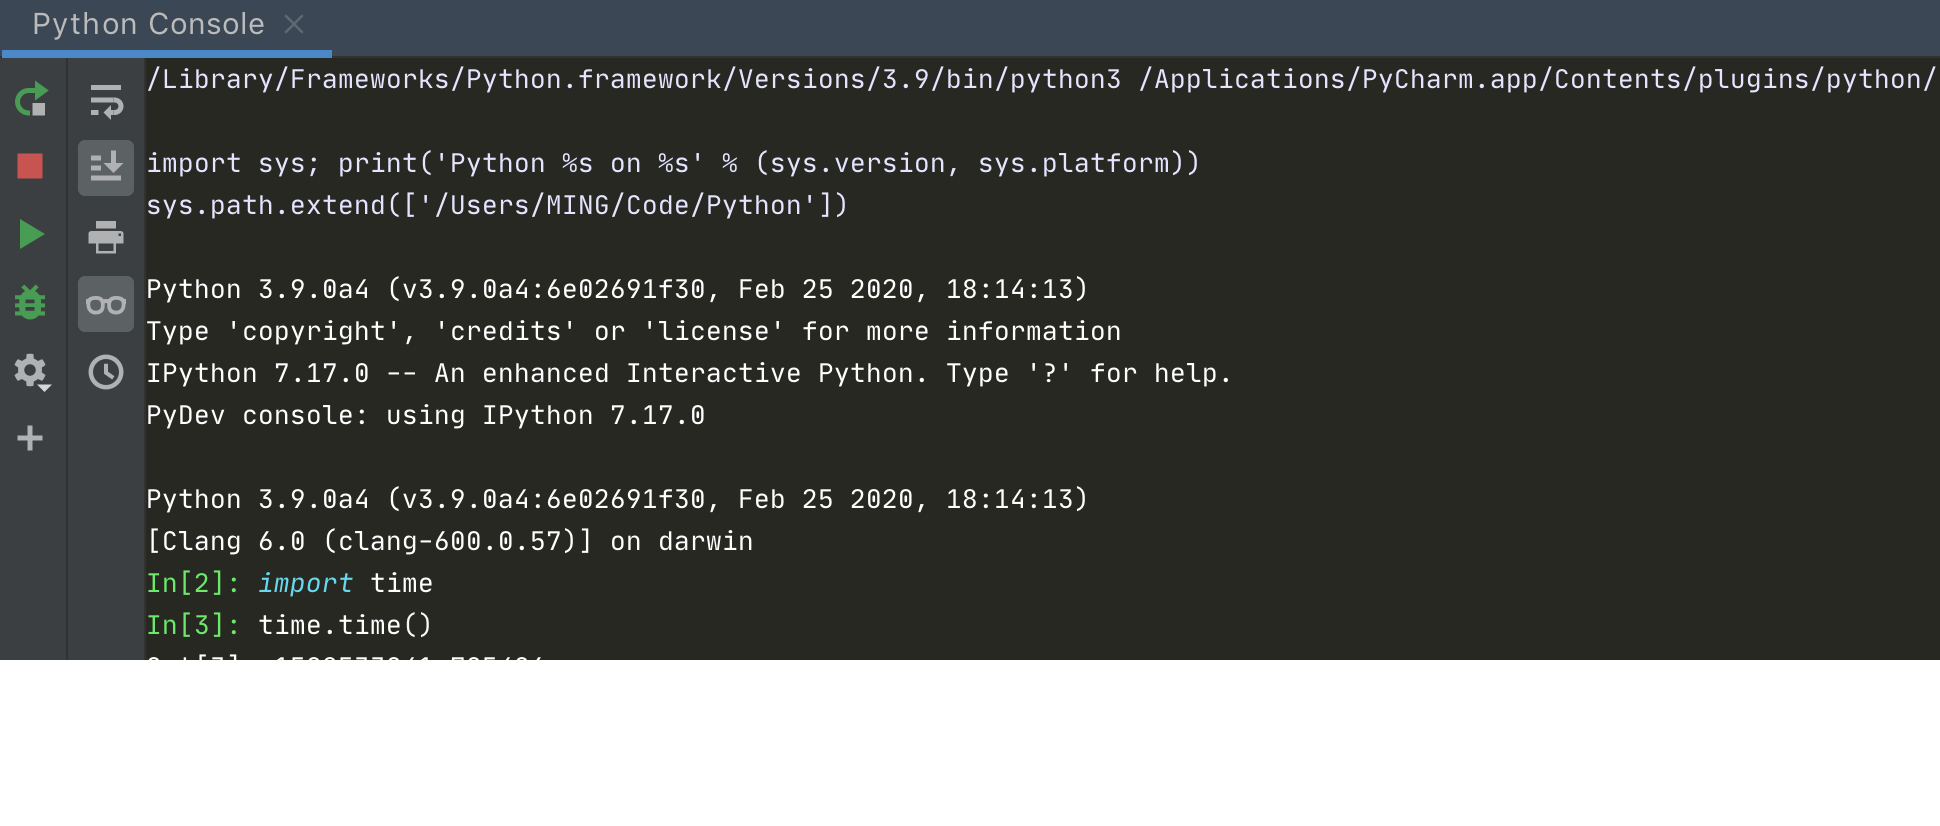
只要你安装了 Jupyter 后,你使用 Python Console 也会自动变成 Jupyter 的模式