2.1 【运行技巧 01】运行 Python 的四种方式

1. 设置 Python 解释器
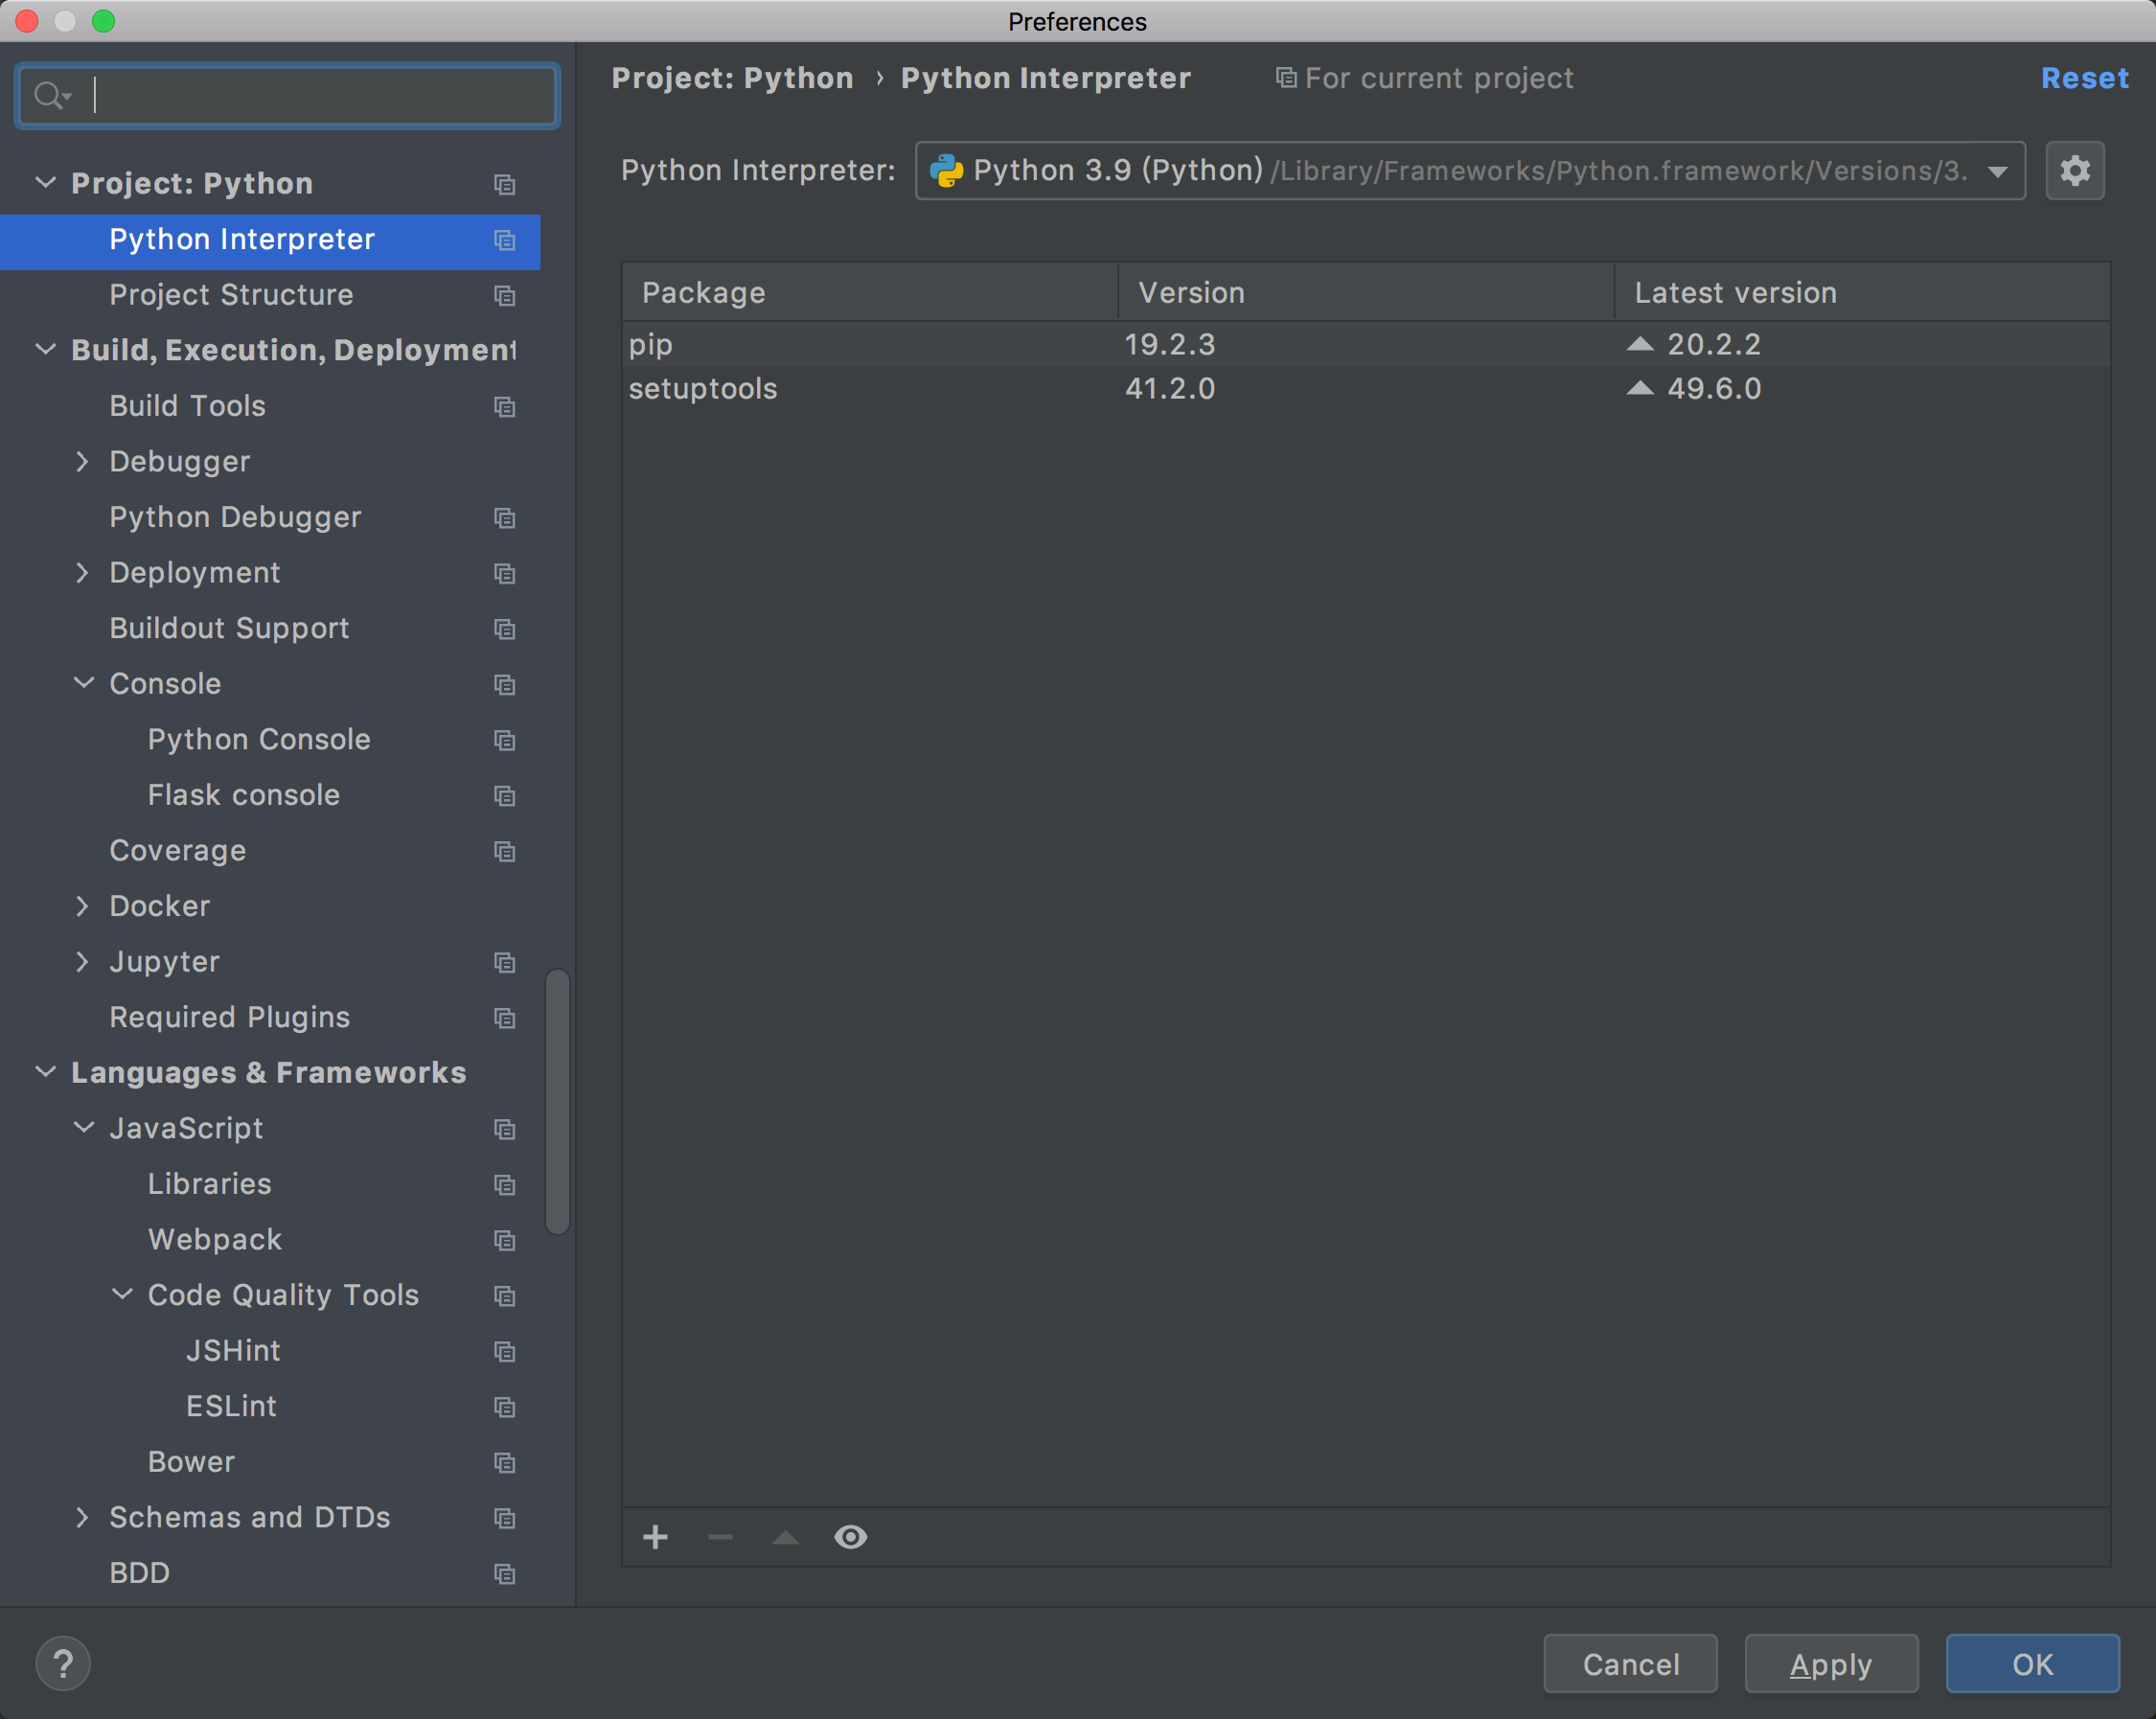
PyCharm 只是提供一个集成开发环境,你在执行 Python 程序时,还是得依赖 Python 解释器。
在一台电脑上,可以存在多个版本的 Python 解释器,所以你在执行 Python 程序前,你首先得告诉 PyCharm 你想用哪个 Python 解释器去执行程序。
打开设置,搜索 Interpreter (如下图),就可以添加你的 Python 解释器了。
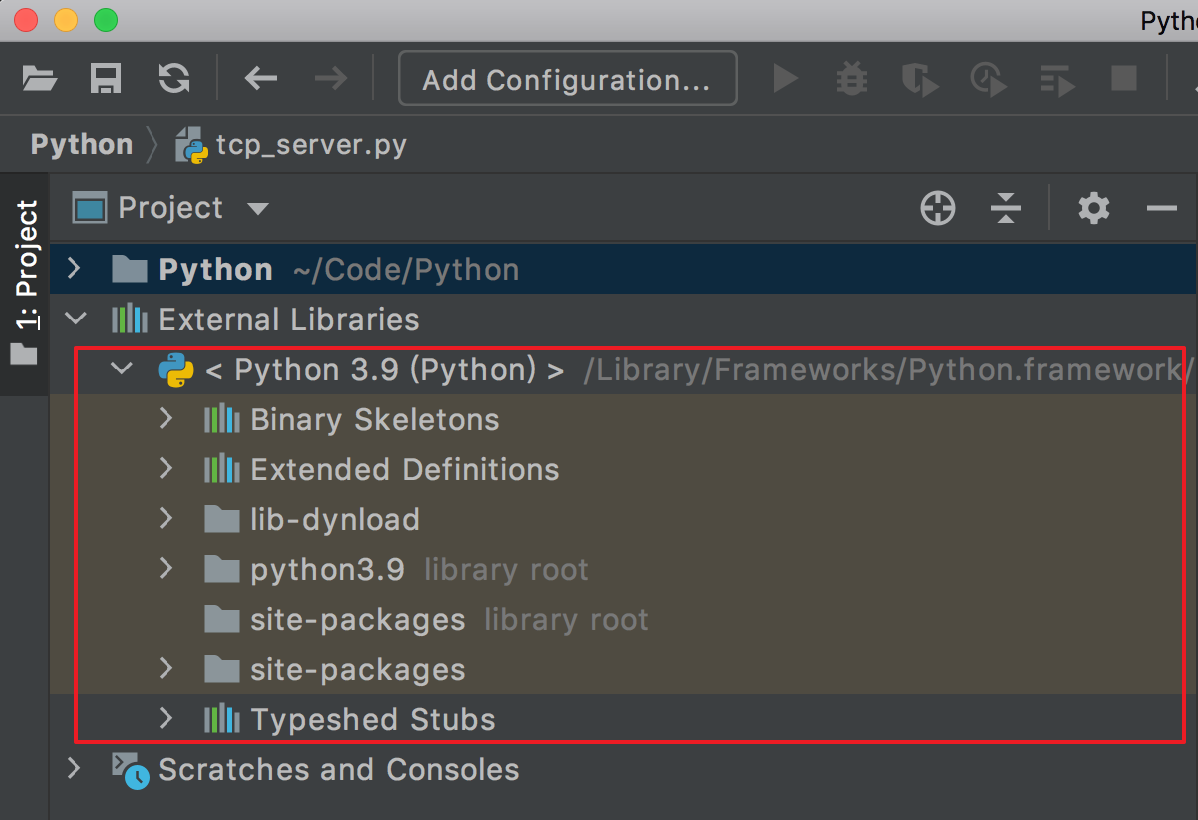
设置完成后,在主界面就可以看到这里多了这么块内容。你以后想读一些内置模块的代码,可以直接从这里点进去。
2. 运行 Python 程序
设置好解释器后,就可以直接运行Python 程序了。
方法有三种:
第一种
右键 - 点击 Run 就可以运行该程序
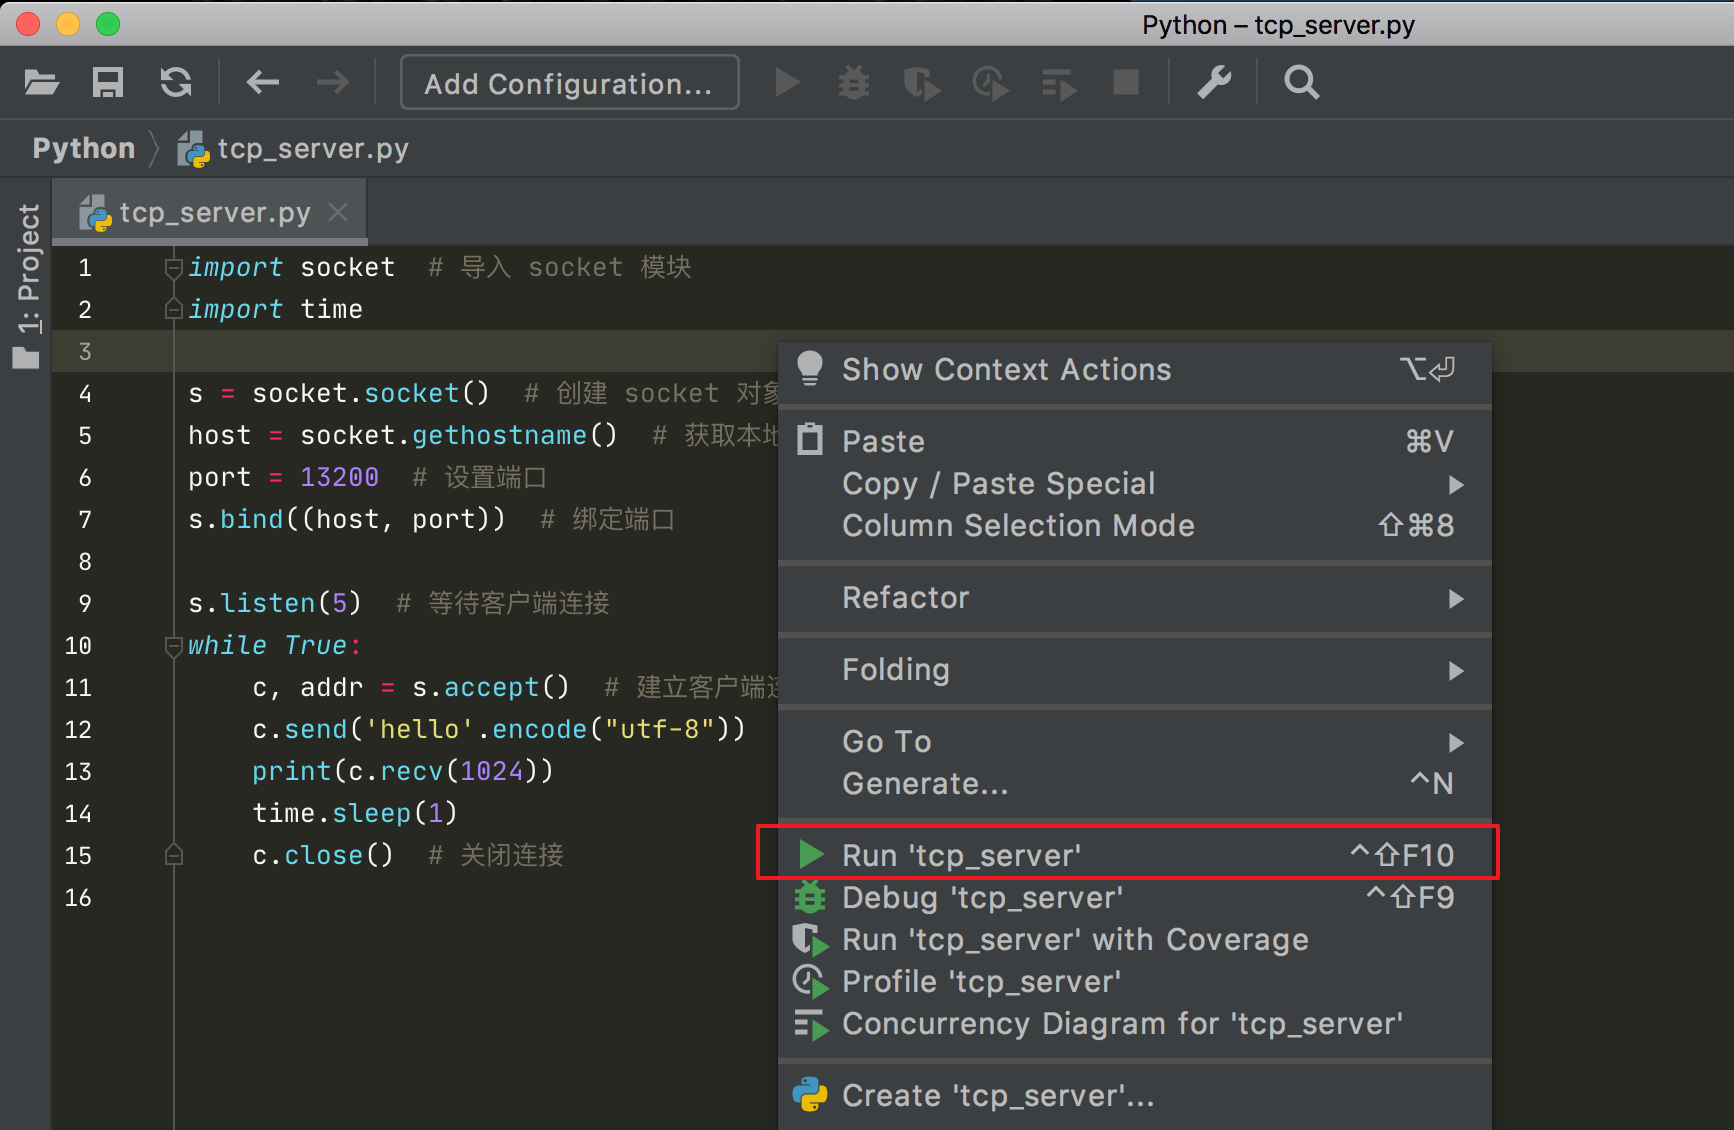
从右键可以看到 Run 是有快捷键的,你只要使用 ctrl+shift+F10 就可以运行该程序.
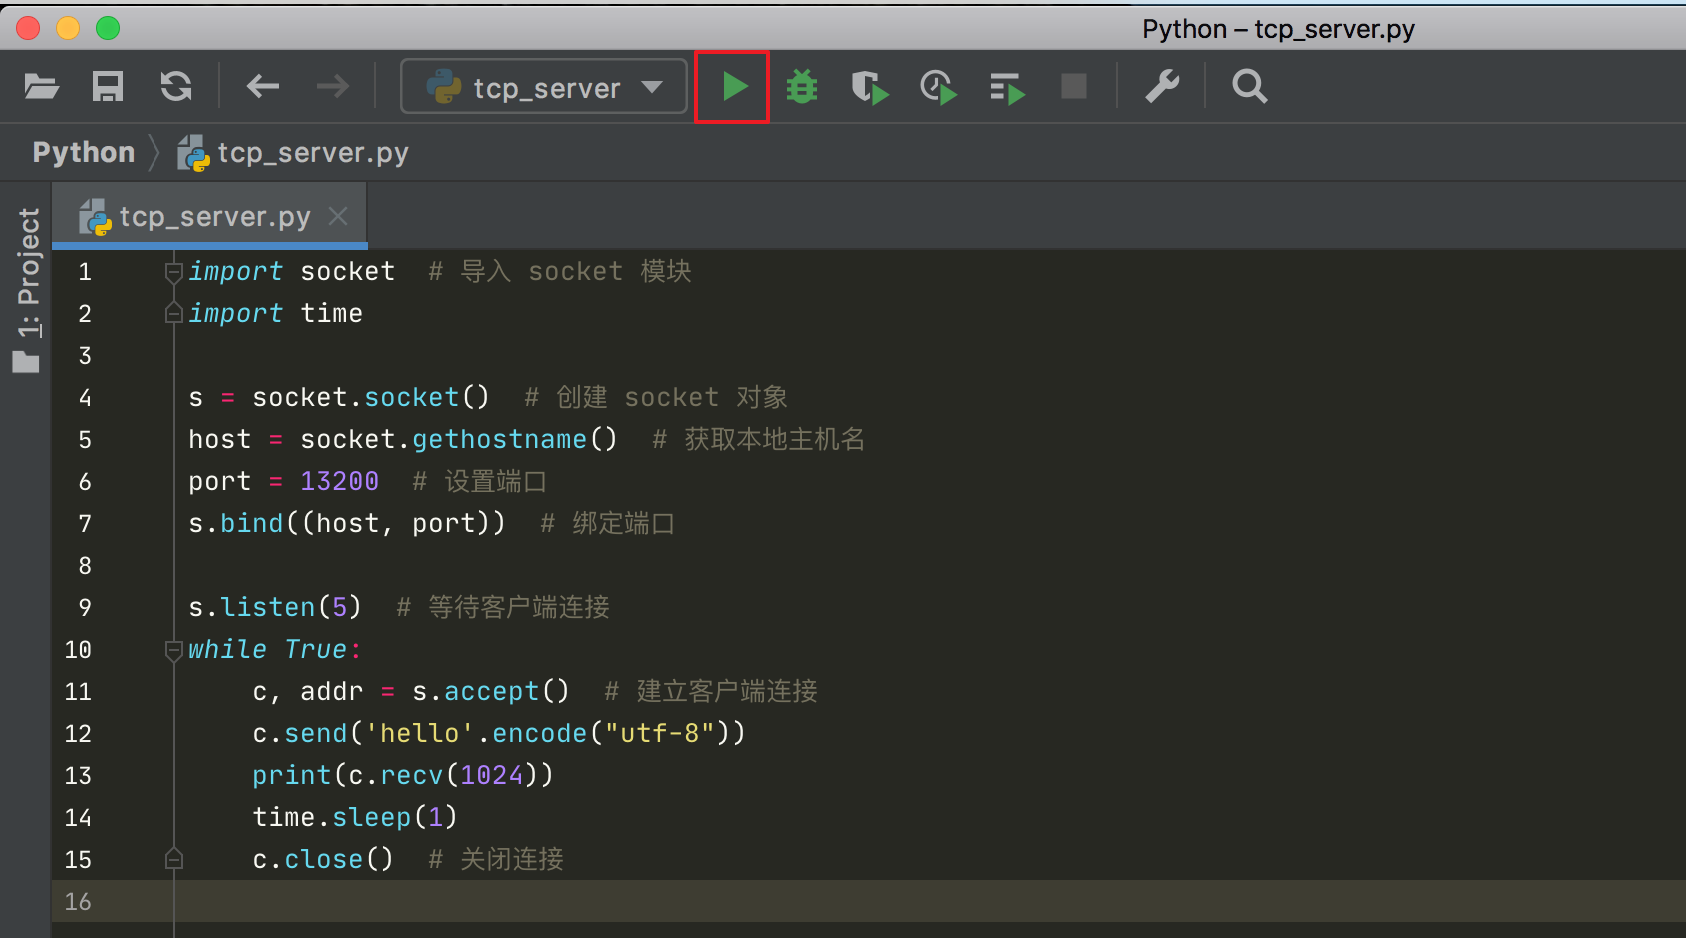
第二种
在你运行过一次该脚本后,PyCharm 就会自动为你记录一次运行记录

因此你以后直接点击这里,就可以直接该程序了。
第三种
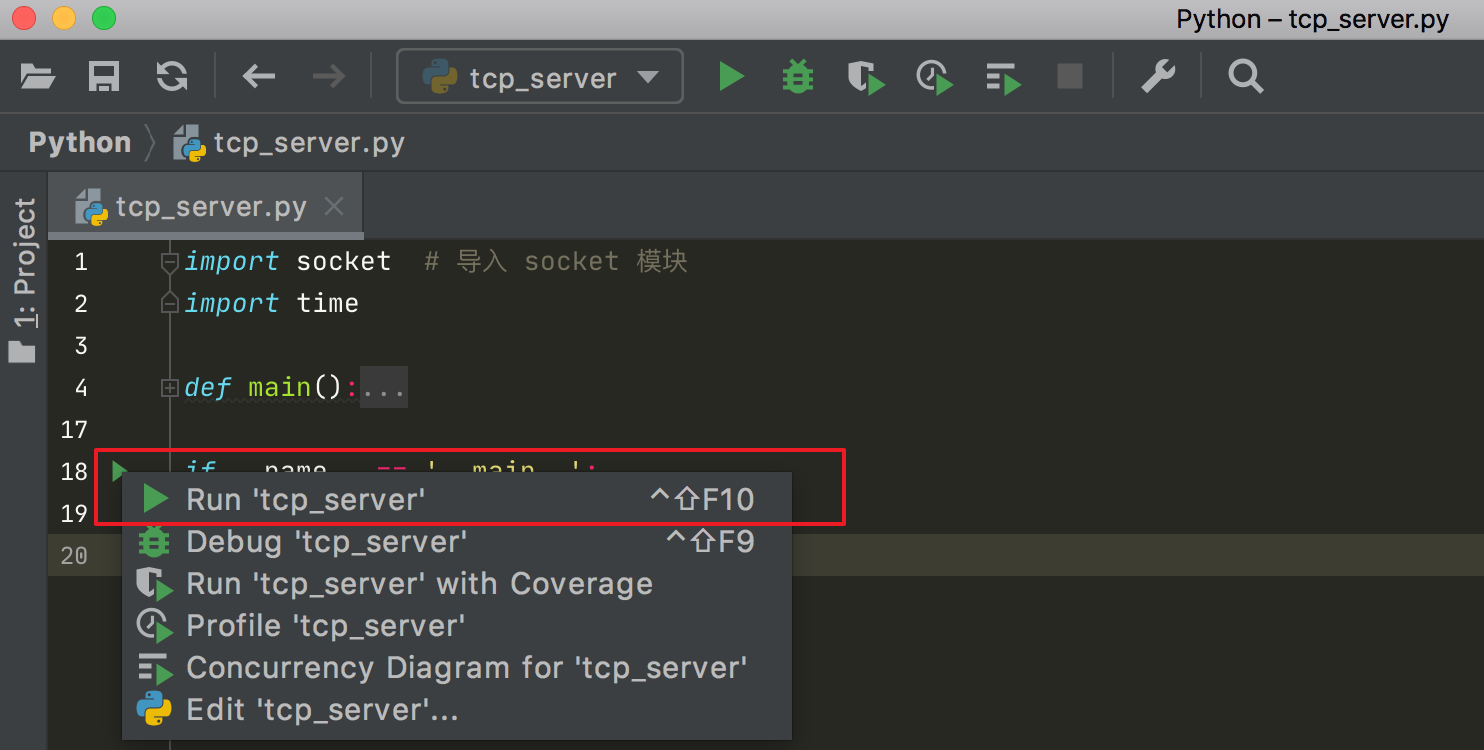
如果你在程序里有如下代码
if __name__ == '__main__':
    main()
就会出现如下的运行按钮,点击第一个就是 Run 。
第四种
这一种方法,可以让你在任意地方编写小段的测试代码,而不用新开一个文件。
具体方法我在8.8【绝佳工具 04】选择执行:Execute Selection in Console 有详细的介绍使用方法,可以点击前往。
3. 运行相关的快捷键
⇧ + F10:运行当前文件
⌥ + ⇧ + F10:弹出菜单,让你选择运行哪一个文件